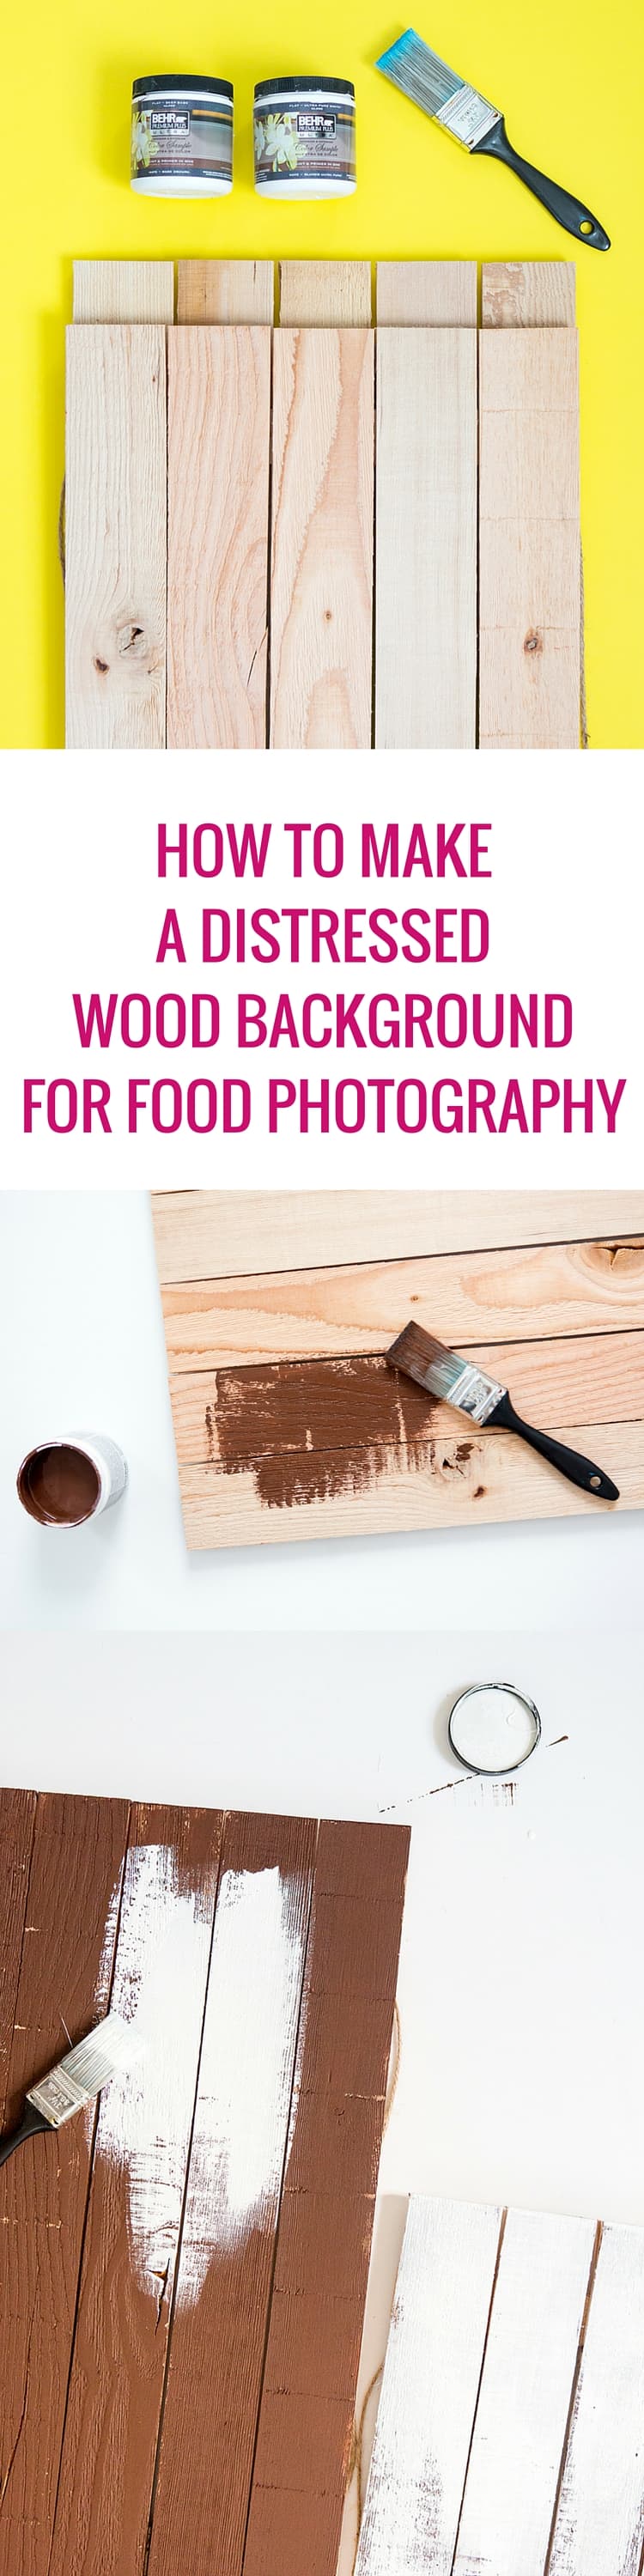
Textural backgrounds are key when taking style photographs of food, DIY projects, and other projects as a blogger. Colored poster boards are a constant staple in my photography kit but sometimes you want more of a lifestyle feel. We don’t all have distressed wooden picnic tables to photograph on so here’s how to fake one at home! DIY your own distressed wood background to make your food photography pop in three easy steps.

Supplies
Wood planks (I found these wood signs at Michael’s for $14 with additional 50% off, so $7 each)
Wood stain, or brown paint sample (~$3 at Home Depot)
White paint sample (~$3 at Home Depot)
Tools
Paint brush
Sandpaper, optional
Table of Contents
1. Paint base coat
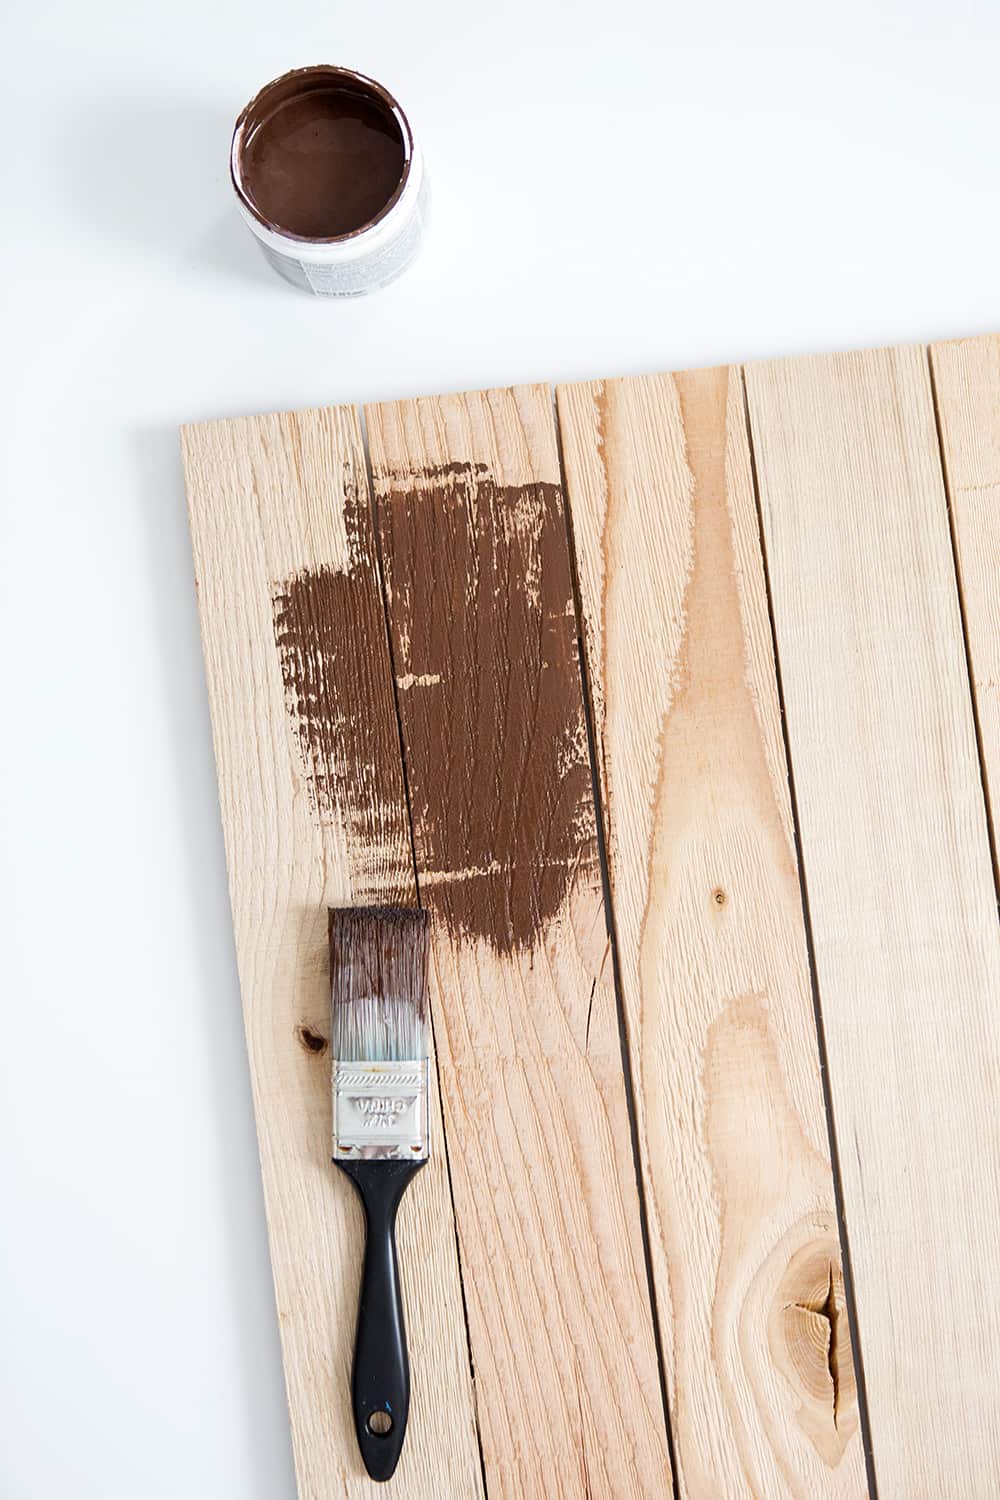
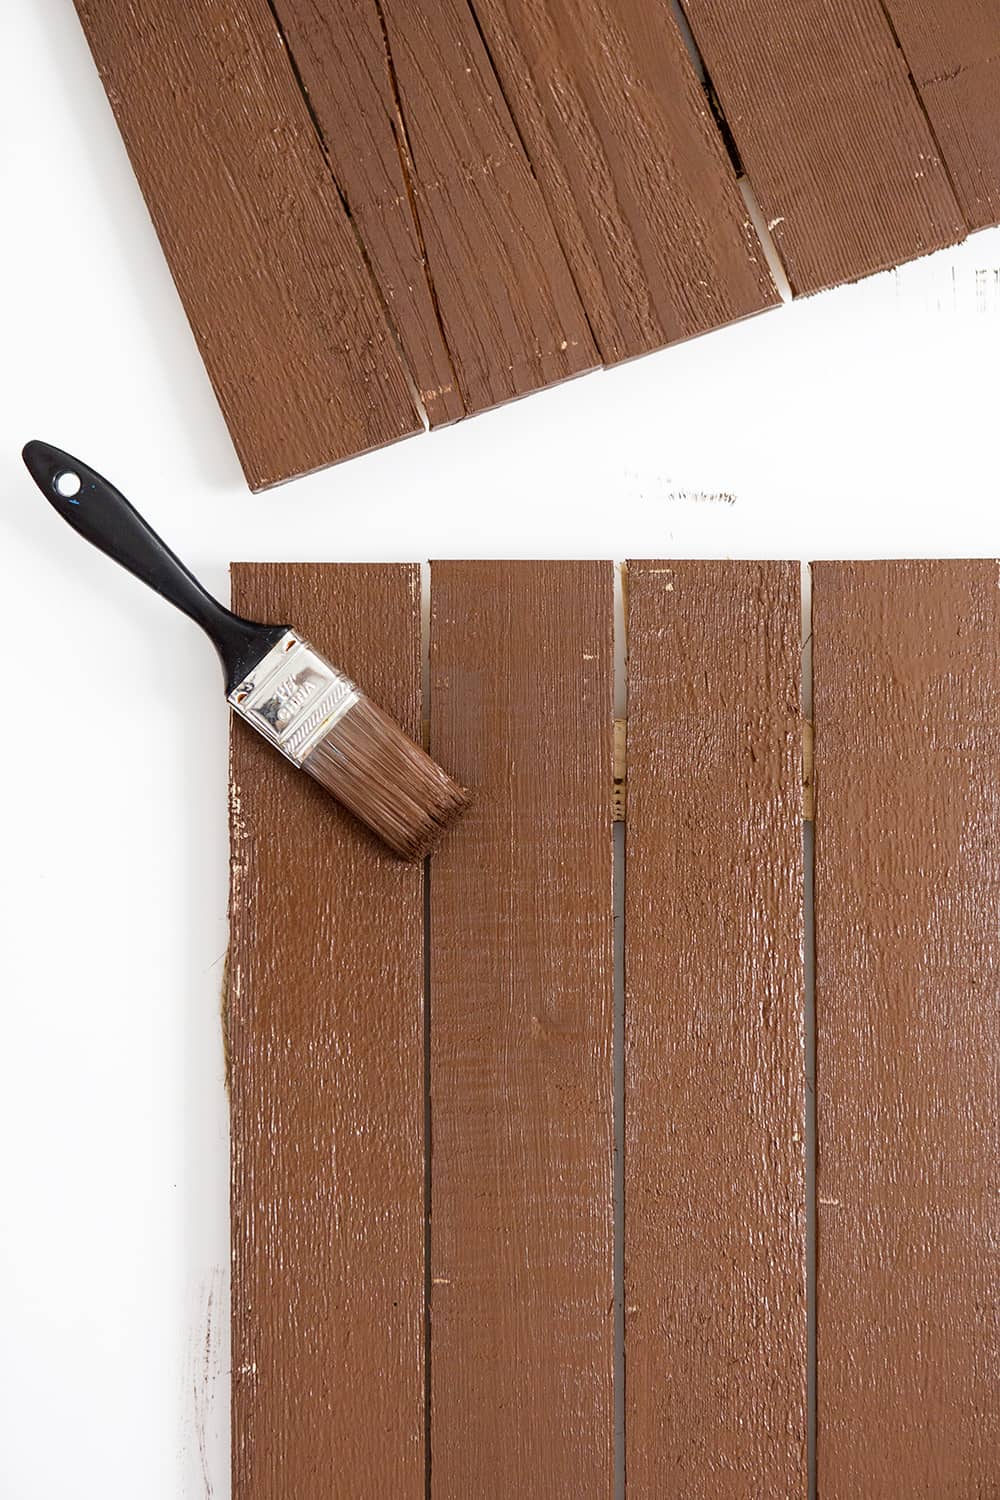
Depending if you want a rich wood color and rough texture to show through the top paint color, you’ll want to stain or paint the wood. I had a old brown paint sample in the garage so I used that. Allow the paint to dry completely before moving on to the next step.
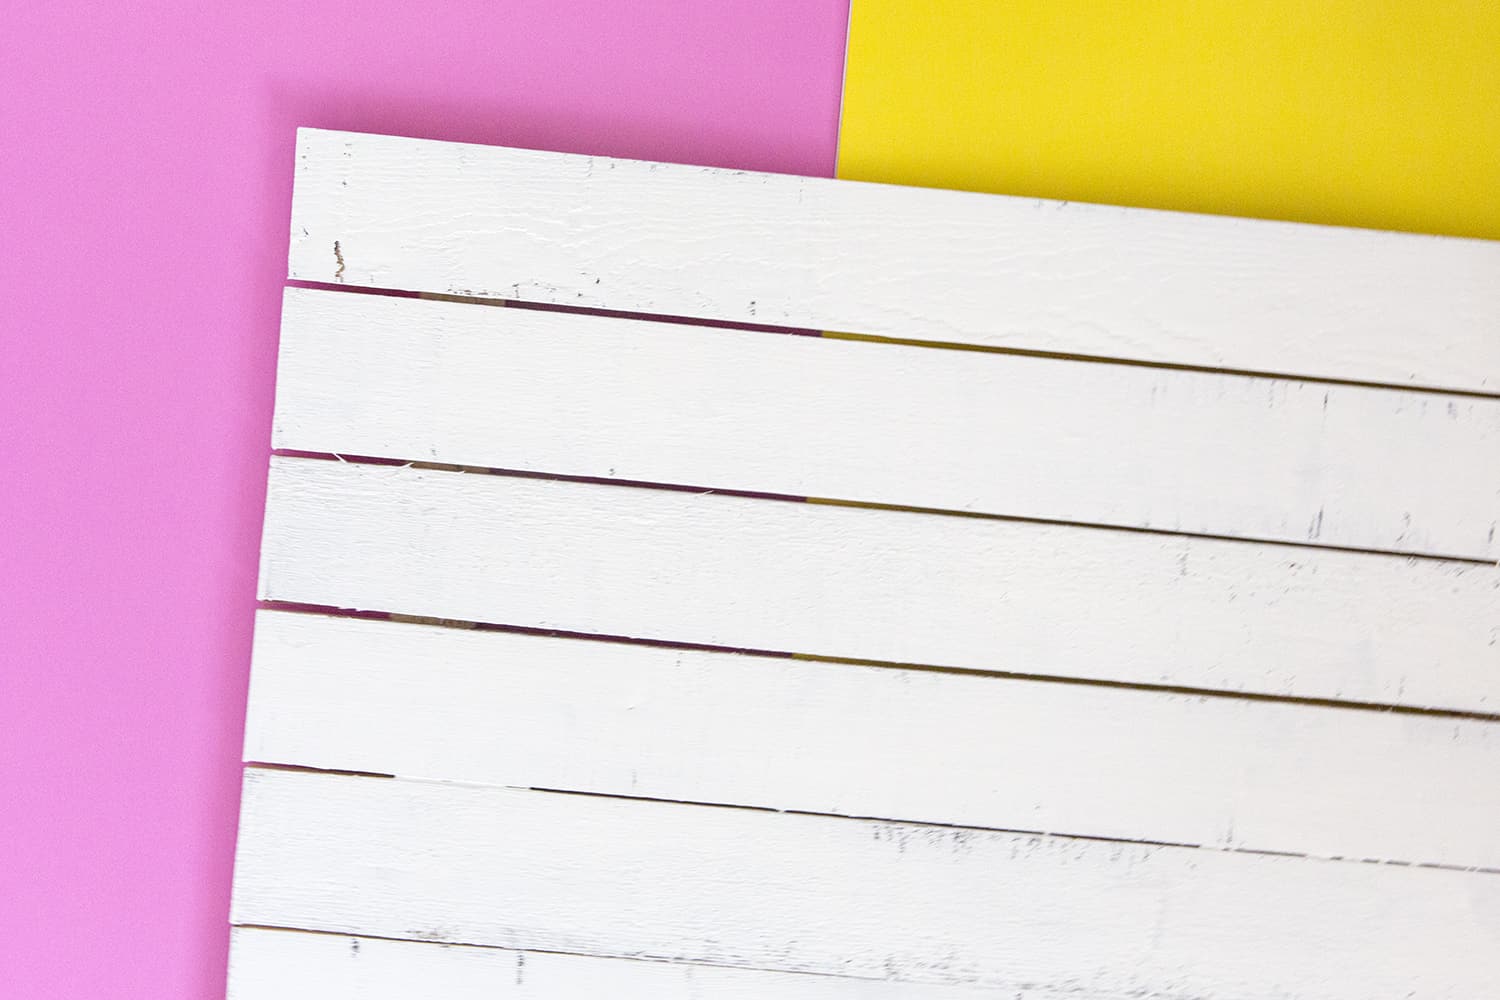
2. Paint top color
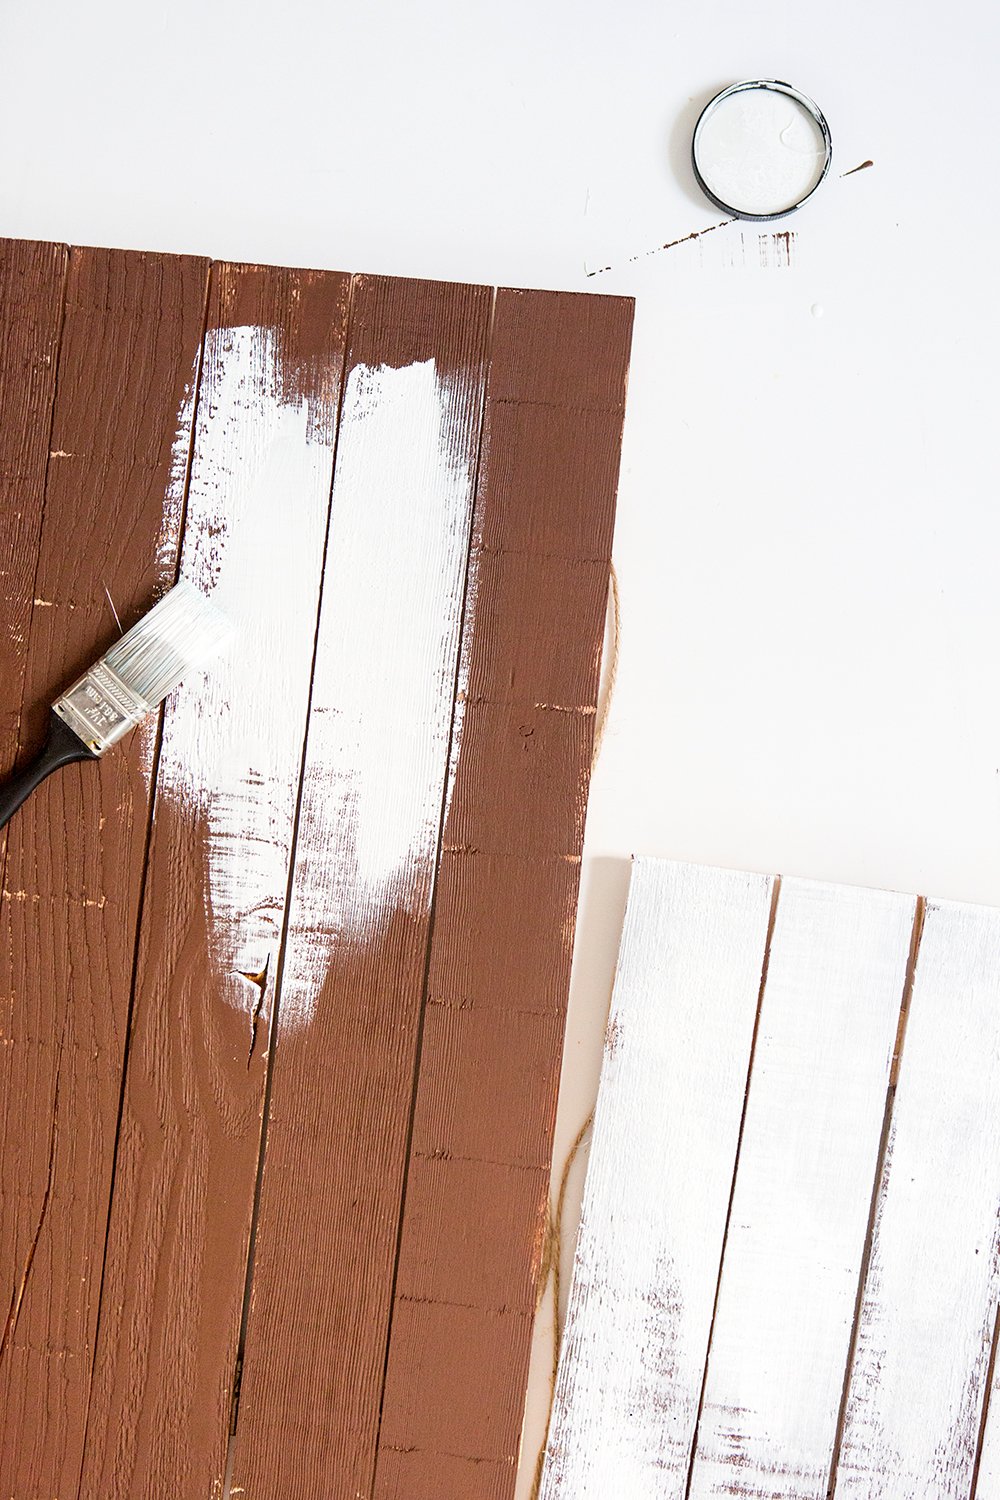
After the boards have dried, apply the second coat of paint by painting small amounts of paint and brushing it quickly. Depending if you want a distressed look, use a light hand when applying paint. After the top coat dries, you can use the sandpaper for a more distressed look.
3. Take pictures with your new backdrop!
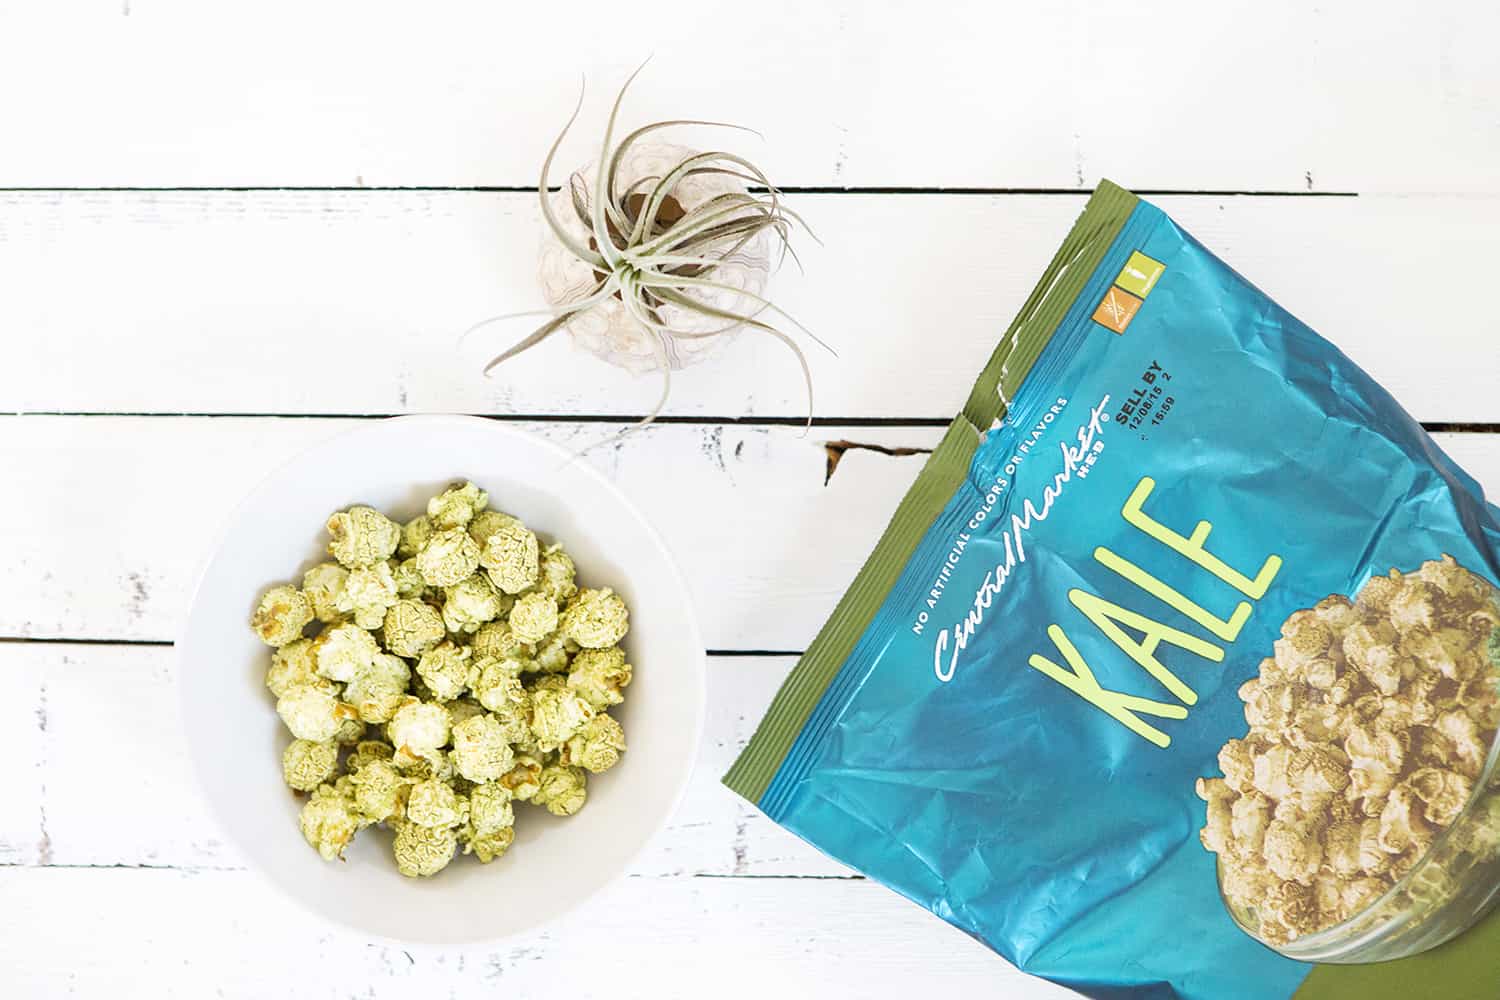
Take some pictures with your new backdrop, and if you’re not happy with the backdrop, you can add another coat of paint or take more away with the sandpaper. Flip over the backdrop and do a different paint or stain treatment on the other side.
LOVE THIS DIY? PIN IT ON PINTEREST!